
Article guide
Care & Repair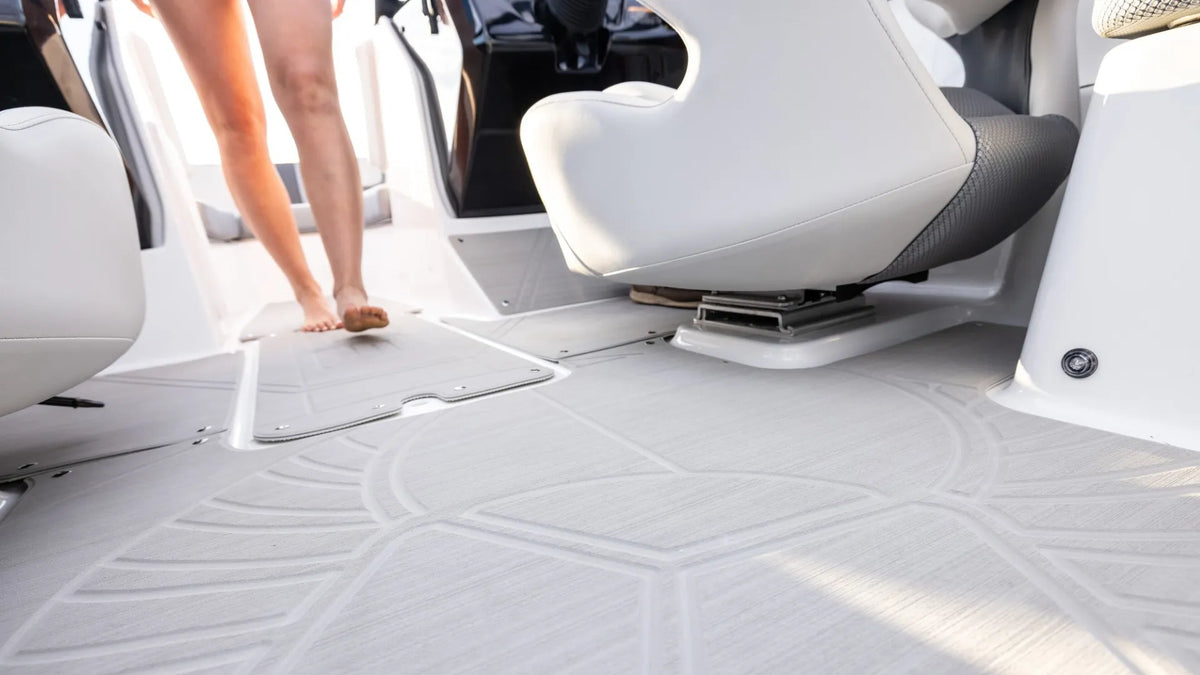
Article guide
Care & RepairUpdated November 2026
Editorial note: This page is an illustrative planning example based on common boat-use scenarios. It is not presented as a verified PoseidonDeck customer case study unless supporting customer photos, order records or test data are specifically provided.
A pontoon flooring project is easiest to plan when the deck is divided into functional zones instead of treated as one large rectangle. Seating bases, gates, helm areas, ladders, drains and storage openings determine which sheet widths can actually fit. Overall boat length alone cannot calculate the required material.
For a DIY pontoon upgrade, measure the open deck between fixed obstacles, template irregular edges at full size and test every shape inside the exact length and width of the selected sheet. Compare total area only after the width, length, gate clearance, hatch clearance and pattern direction checks pass.
Current supplier information confirms that the U.S. market includes several distinct purchase paths, not one universal pontoon-flooring format. SeaDek sells DIY sheet material for owner cutting and installation, while its dry-fit instructions emphasize checking every template, panel spacing and pattern alignment before production. SC Wake publishes templating and dry-fit instructions that require bow, stern, port and starboard labels plus cutout and hinge identification. MarineMat offers adhesive Stick-It and removable Snap-It systems and provides a separate template worksheet.
These sources establish common planning steps and competing installation formats. They do not prove PoseidonDeck performance, lifespan, shrinkage, adhesive compatibility or fit on a specific pontoon. Review the original SeaDek DIY sheet overview, SeaDek dry-fit instructions, SC Wake DIY learning center and MarineMat resources.
Remove loose mats and inspect the visible surface. Soft plywood, delamination, loose coatings, trapped moisture or damaged fasteners should be addressed before any adhesive-backed flooring is installed. EVA is a finish layer, not a structural repair.
Natural boundaries can make pieces easier to dry-fit and replace. Do not assume two pieces should be pressed together without a planned gap: spacing guidance depends on the specific material system, construction and supplier instructions.
Measure the actual open deck, not only the pontoon length and beam. Record gate swing, seat bases, table mounts, drains, ladder movement and removable hardware. For irregular edges, use a full-size template and mark its orientation before removing it from the boat.
Assume one rectangular pontoon walkway measures 90 × 30 inches. Its net area is 2,700 sq in, or 18.75 sq ft. Adding a provisional 15% cutting and layout allowance gives 3,105 sq in, or 21.56 sq ft.
This is a planning example, not a fit guarantee. Seat bases, curves, gates, drains, edge clearances and stripe direction can change the layout. Trace the real zone inside the selected sheet dimensions before ordering. Compare available widths on the faux-teak stripe sheet page, or review the DIY EVA sheet collection.
Faux-teak stripe EVA creates a traditional marine direction, but adjacent pieces need a deliberate line orientation. Diamond patterns can simplify visual alignment across separated zones. Color and pattern do not establish traction or fit by themselves.
Pontoons often see food, drinks, sand, sunscreen and repeated wet traffic. Rinse debris before it works into the texture, begin with a compatible mild cleaner and avoid forcing concentrated water under exposed edges.
Dark surfaces generally absorb more solar energy than lighter surfaces under comparable conditions. If the boat is frequently used barefoot in full sun, compare color samples in the actual environment rather than relying on an indoor screen image.
Simple rectangular walkways, helm pads and boarding zones are practical candidates for universal cut-to-fit sheets. A custom layout becomes more reasonable when the pontoon has many curves, complex furniture cutouts, coordinated borders or a routed pattern that must align across several panels.
No. Many projects work better when high-use areas are covered in manageable sections around furniture, gates, the helm and boarding points.
Do not treat old carpet as a verified adhesive substrate. Remove unstable material and inspect the deck underneath before selecting a flooring and adhesive system.
Measure and template each open deck zone, then place those shapes inside the real sheet dimensions. Total square footage alone does not account for width, curves, pattern direction, clearances or cutting waste.
Start by testing universal sheets for simple rectangular zones because they offer a direct DIY purchase path. Compare custom cutting when the geometry or coordinated design creates excessive waste or alignment risk.
An illustrative Florida pontoon EVA flooring plan with an exact 84 × 36-inch sheet calculation, dry-fit checks, sun and cleaning limits, and DIY sheet links.
Read moreAn illustrative fishing-boat flooring planning example focused on casting-deck comfort, hatch access, cleanup, pattern choice and traction limits.
Read moreAn illustrative Jet Ski/PWC deck-pad planning example covering fitment, EVA pattern choice, wet-use grip limits and installation.
Read more


Share:
Fishing Boat Flooring Planning Example: Casting Deck, Grip & Cleanup